Project/축구모임 홈페이지개발
[축구모임 홈페이지개발] 12/09 개발일지 html css / Local 폰트 적용, 팀소개 탭 디자인
한33
2023. 12. 10. 01:08
공지사항탭 기능구현이 끝나간다.
오늘은 디자인에 조금 더 힘을 써볼 생각이다.
7일날 디자인팀원들이랑 회의를 해서 피드백을 받았기 때문에 그 결과를 내어주어야한다.
우선 폰트변경을 진행했다.
Pretendard-Light.woff
디자인팀원들이 폰트를 보내줬다.
.woff 확장자의 저 폰트파일을 main.css 파일이 들어있는 폴더 안에 넣고

@font-face {
font-family: 'Pretendard-Light';
src: url('../Pretendard-Light.woff') format('woff');
font-weight: normal;
font-style: normal;
}
main.css 에 다음과 같은 코드를 짜줬다.
또 body 태그 안에
font-family: 'Pretendard-Light', sans-serif;
이 코드를 추가해주니까 정상적으로 폰트가 바뀌었다.
혹시나해서 추가적으로 부분적으로도 폰트설정이 가능한가 해서 봤는데,
@font-face {
font-family: 'Pretendard-Light';
src: url('../Pretendard-Light.woff') format('woff');
font-weight: normal;
font-style: normal;
}
@font-face {
font-family: 'Pretendard-Bold';
src: url('../Pretendard-Bold.ttf') format('ttf');
font-weight: normal;
font-style: normal;
}
같은 방법으로 이렇게 명시만 해주고 필요한 글꼴을 원하는 css class 에
font-family: 'Pretendard-Light', sans-serif;
위 속성으로 설정만 해주면 부분마다 폰트도 적용할 수 있었다.
굿

중간에 디자인 관련 파일들을 받았고,
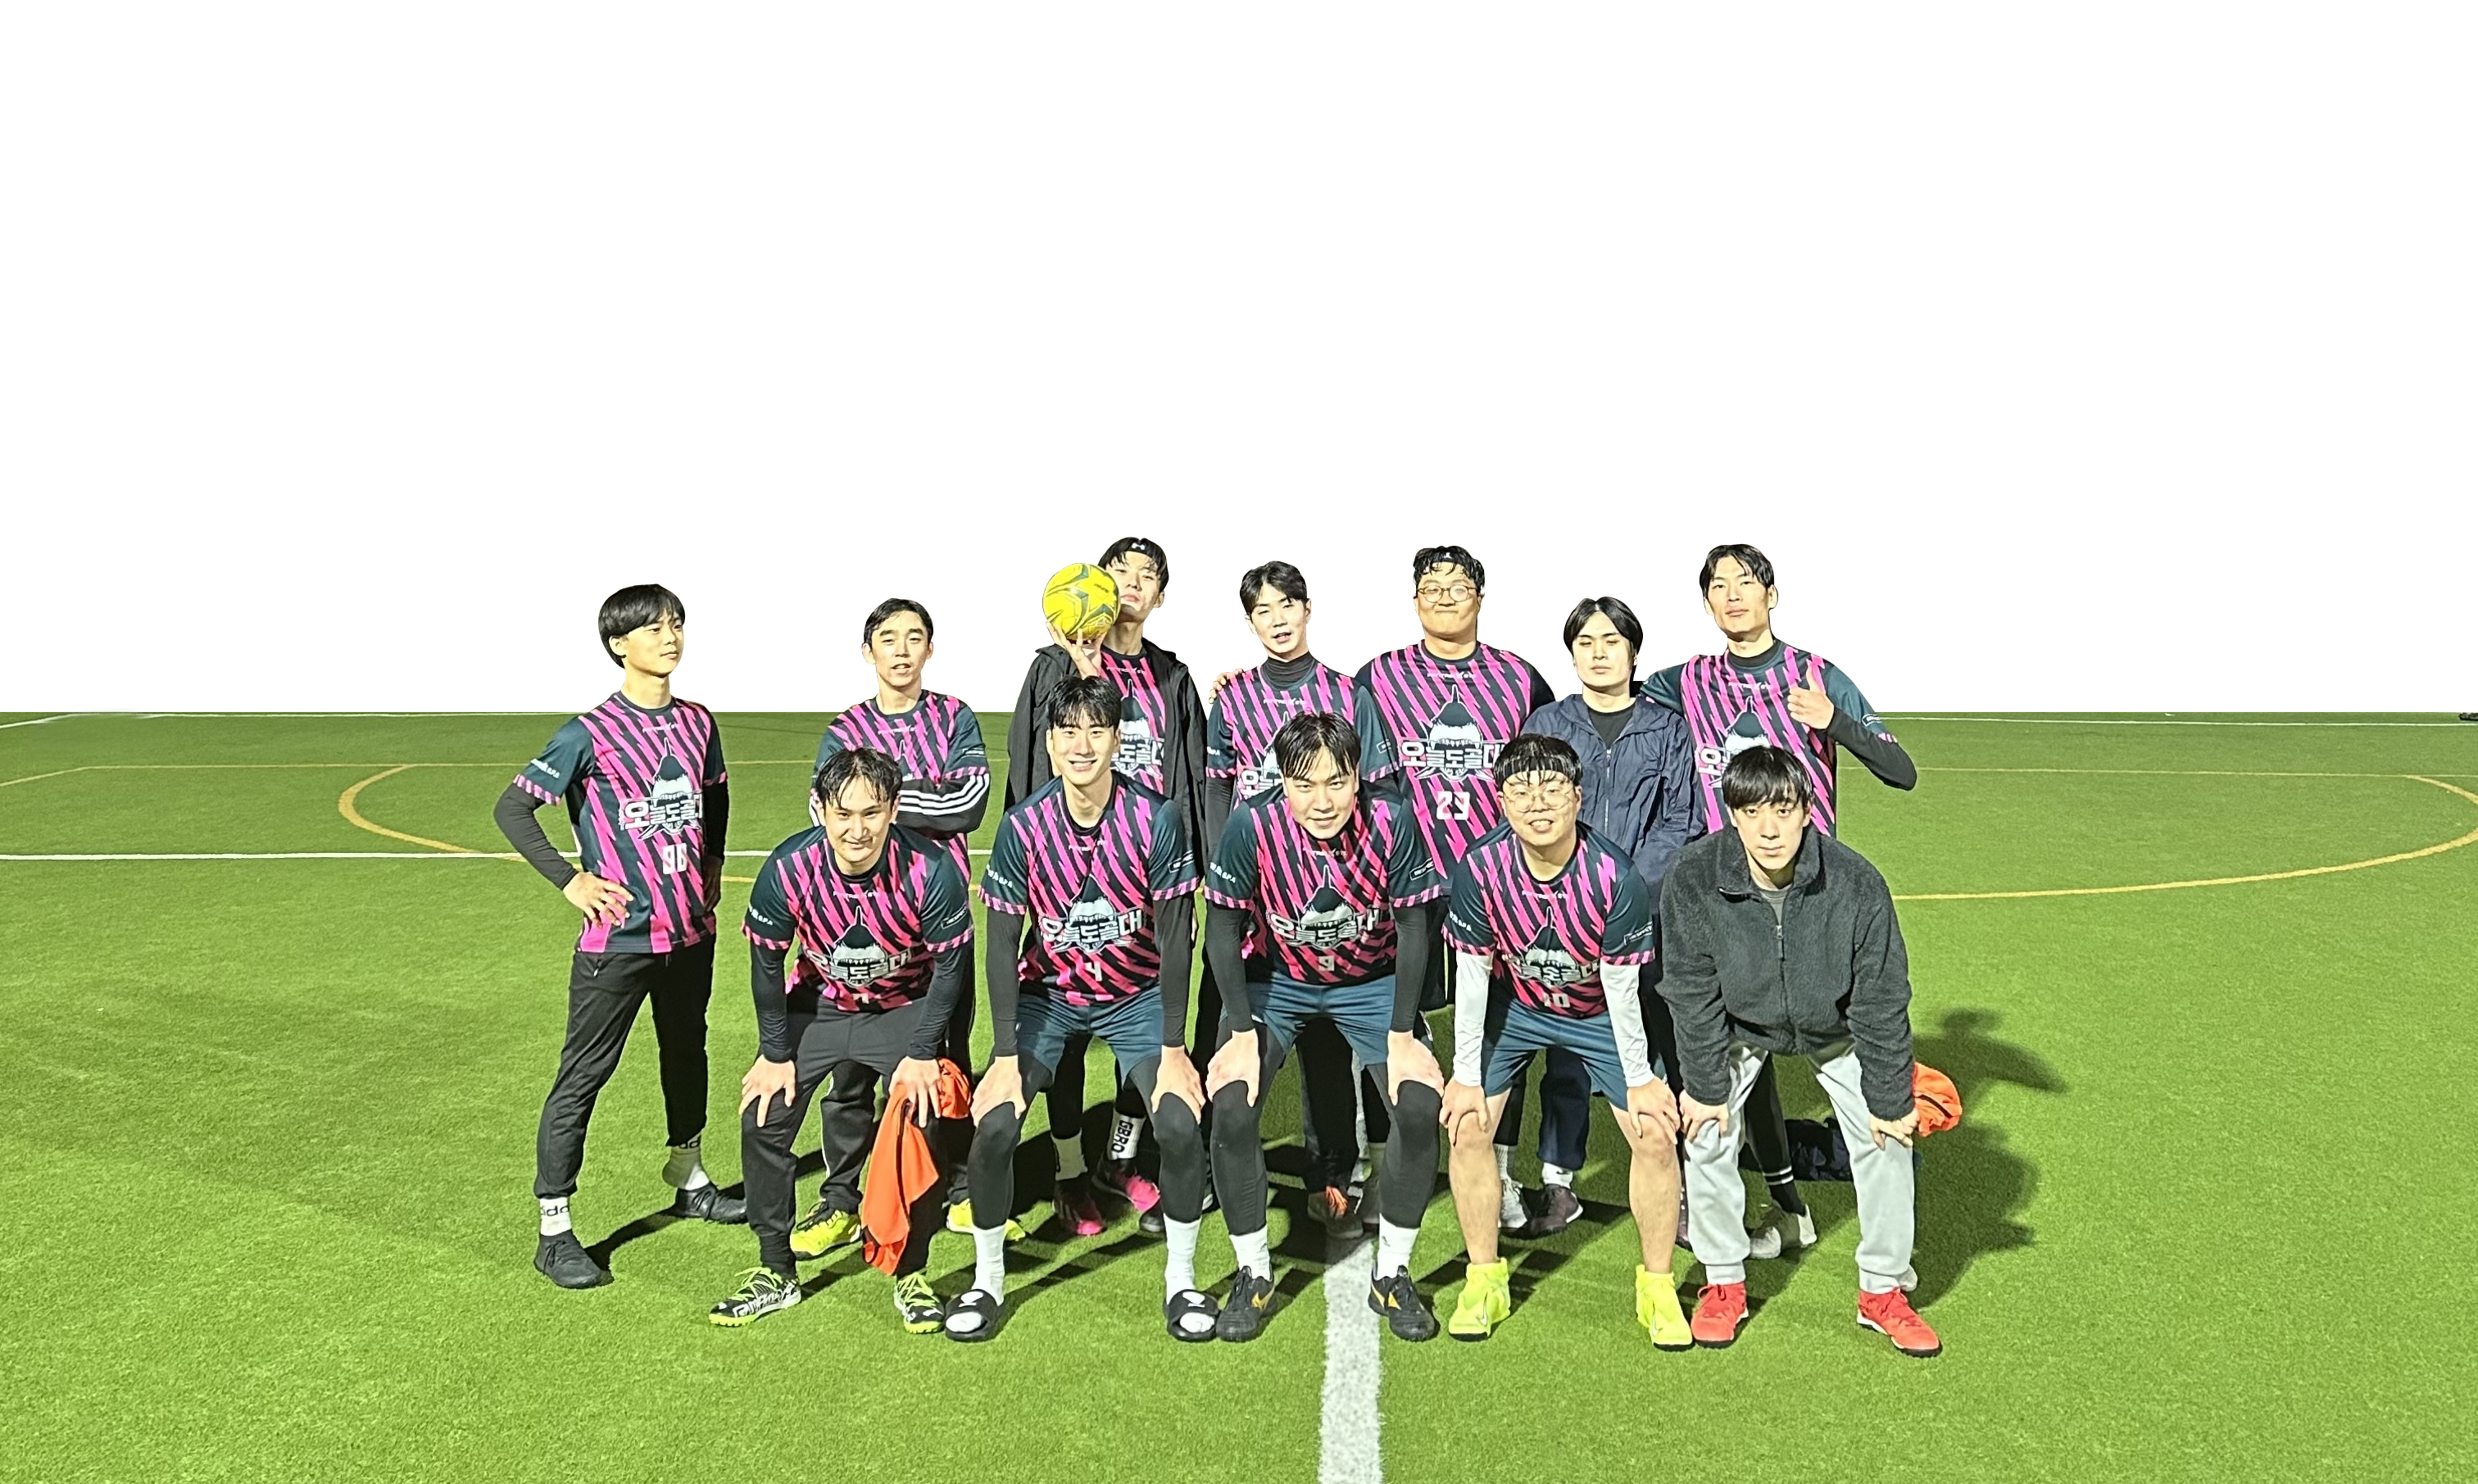
팀소개 페이지 구현을 끝냈다.
팀소개 페이지라서 구성인원들의 신상정보가 들어가있어서 캡처를 못했다.
introduce.ejs 파일을 만들었다.
app.get('/introduce', async (req, res) => {
res.render('introduce.ejs');
});
서버에서는 그냥 페이지만 불러오면 되어서 편했다.
<div class="introduce-main">
<div class="team-mission-position">
<div class="team-mission-area">
<img class="team-mission"
alt="팀문구">
</div>
</div>
<div class="team-pic-area">
<img class="team-pic"
alt="팀문구">
</div>
<div class="player-profile-name">
FIXO
</div>
<div>
<img class="player-profile"
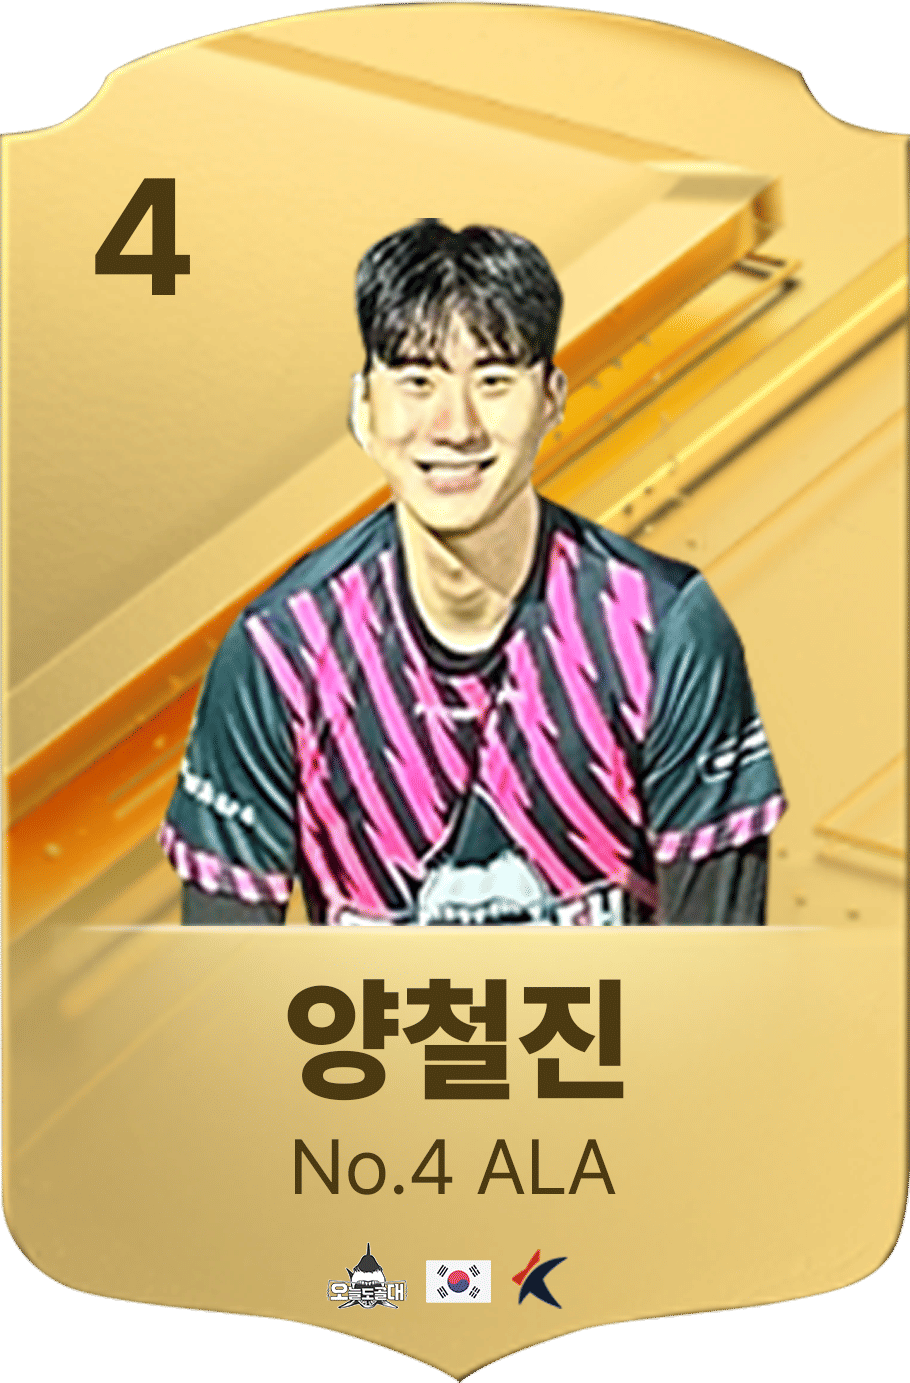
alt="선수프로필">
</div>
.introduce-main {
width: 800px;
height: 90%;
background-color: #002832;
margin: 10% auto 0px auto;
color: white;
}
.team-mission-position {
width: 100%;
}
.team-mission-area {
width: 400px;
height: 100px;
margin: 0px auto 0px auto;
}
.team-mission{
max-width: 100%; /* 부모 요소의 최대 너비에 맞게 조정 */
max-height: 100%; /* 부모 요소의 최대 높이에 맞게 조정 */
width: auto; /* 가로 크기를 자동으로 조정하여 세로 비율 유지 */
height: auto; /* 세로 크기를 자동으로 조정하여 가로 비율 유지 */
}
.team-pic{
max-width: 100%; /* 부모 요소의 최대 너비에 맞게 조정 */
max-height: 100%; /* 부모 요소의 최대 높이에 맞게 조정 */
width: auto; /* 가로 크기를 자동으로 조정하여 세로 비율 유지 */
height: auto; /* 세로 크기를 자동으로 조정하여 가로 비율 유지 */
}
.player-profile-area {
display: flex;
flex-wrap: wrap;
/* justify-content: center; */
}
.player-profile-area img {
margin: 10px;
/* background-color: pink; */
}
.player-profile {
width: 30%;
margin-left: 2%;
margin-top: 20px;
}
.player-profile-name {
margin-top: 30px;
margin-left: 10px;
font-size: 35px;
font-family: 'Pretendard-Bold', sans-serif;
font-weight: bold;
}
@media only screen and (max-width: 1000px) {
.introduce-main {
width: 100%;
}
.team-mission-area {
width: 55%;
height: 20%;
margin: 60px auto 0px auto;
}
.player-profile {
width: 45%;
margin-left: 3%;
margin-top: 6%;
}
.player-profile-name {
margin-top: 15%;
margin-left: 10px;
font-size: 30px;
font-family: 'Pretendard-Bold', sans-serif;
font-weight: bold;
}
}
결국은 이미지들을 어떻게 쪼개어서 배치를 하냐 문제였다.
모바일버전에서는 45%를 할당하여 1줄에 2개의 이미지를 배치했고,
웹에서는 30%를 할당하여 1줄에 3개의 이미지를 배치했다.